How to Organize a Stress-Free Gift Exchange
Updated for July 2026
A complete 2026 guide to organizing a gift exchange that actually goes smoothly — formats, budgets, timelines, and tools, for friends, family, or coworkers.
Every gift exchange starts with good intentions and somehow ends up buried in group chat chaos — someone forgot who they're buying for, someone else spent triple the agreed budget, and one person still hasn't confirmed if they're even participating. None of that is inevitable. A gift exchange runs smoothly when a few basic decisions get made early and clearly. Here's the full guide.
Step 1: Pick the Right Format
There are three main formats, and picking the right one for your group matters more than almost anything else.
Secret Santa (Name Draw) Each participant is randomly assigned one other person to buy for, kept secret until the reveal. This works best when the group varies a lot in age or interests, since knowing exactly who you're buying for lets you pick something genuinely personal.
White Elephant (Open Exchange) Everyone brings one unmarked gift within a set budget, and gifts are opened in turn — often with a "steal" rule, where a person can take an already-opened gift instead of picking a new one. This format works best for larger, more casual groups where the fun is in the game itself, not necessarily in getting something you'd pick for yourself.
Themed Exchange A twist on either format above, built around a theme — "under $20 and useful in a kitchen," "something that made you laugh this year," or "handmade only." Themes are especially useful for groups that don't know each other well, since they narrow the decision down instantly instead of leaving it wide open.
Step 2: Set the Budget — By Group Size

A clear, upfront budget prevents the two most common complaints: someone spending too little and feeling embarrassed, or someone spending too much and making everyone else look bad by comparison. General guidelines that hold up well across group sizes:
Small groups (5–10 people): $20–30 tends to be the sweet spot
Medium groups (11–20 people): $15–25 keeps things fair without adding pressure
Large groups (20+): $10–20 keeps participation affordable for everyone
For workplace exchanges specifically, staying on the lower end (often $10–30) tends to feel more comfortable across a group with mixed budgets and comfort levels.
Step 3: Confirm Participants Before Anything Else
Get a real headcount before assigning names or setting a date — and don't pressure anyone to join. An odd number of participants, or people dropping out after assignments are made, causes more last-minute scrambling than almost any other single issue. A short sign-up (a shared form, a group message, or a simple list) with a clear deadline solves this early.
Step 4: Set Clear, Written Rules
Vague expectations are where most gift exchanges go sideways. Before anyone starts shopping, make sure the group has clear answers to:
What's the budget, and does it include shipping?
Are gag gifts, gift cards, or homemade items allowed — or is it one specific category only?
Is there a "steal" rule (for White Elephant-style exchanges)?
How and when will gifts be exchanged — in person, mailed, or dropped off?
What's the reveal date, and is there a deadline before it?
Putting this in writing, even briefly, and sharing it with the whole group in one place avoids the "wait, I thought we said $25" conversation entirely.
Step 5: Use a Digital Tool for Matching and Sharing

Manually drawing names out of a hat works for a small in-person group, but it breaks down fast for anything larger or partly remote. A shared digital tool solves a few problems at once: it randomizes and assigns matches without anyone needing to manage a physical drawing, it keeps the assignment genuinely secret even when the group isn't in the same room, and it gives people a single place to check their assignment and share what they'd actually like.
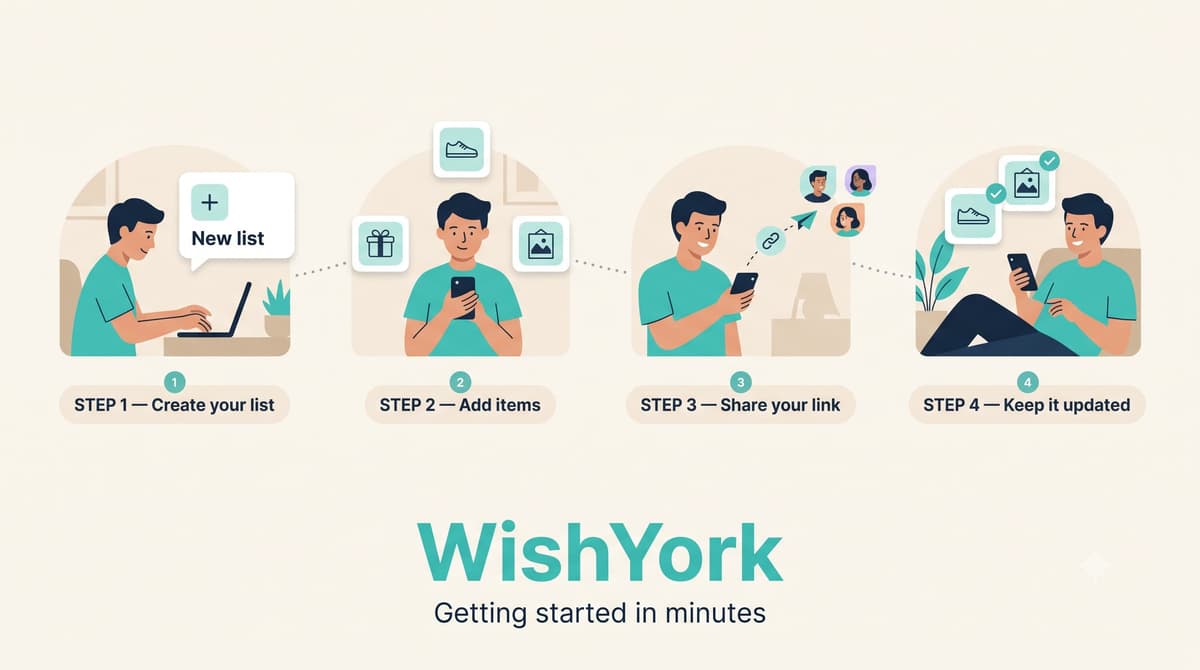
This is also where a shared wishlist becomes genuinely useful — instead of guessing what your assigned person might want, you can see a list of things they've actually said they'd like, which removes most of the anxiety around picking wrong.
Step 6: Build in a Timeline
For anything larger than a handful of close friends, work backward from the exchange date:
3–4 weeks out: Confirm participants and finalize the format
2–3 weeks out: Send assignments and share the budget/rules
1 week out: Send a friendly reminder — this is the single most effective way to avoid last-minute panic shopping
Exchange day: Confirm delivery method (in person, mailed, or dropped off) one more time if the group is spread out
A Few Extra Tips for Smoother Exchanges
For remote or spread-out groups: Confirm shipping addresses early, and build in extra time for anything being mailed — international or long-distance shipping in particular needs more lead time than most people budget for.
For groups that don't know each other well: Ask each participant to share two or three specific likes or interests when they sign up. It removes the awkward guessing game and consistently leads to better, more personal gifts even under a modest budget.
For repeat annual exchanges: Rotate the format year to year (Secret Santa one year, White Elephant with a theme the next) to keep it feeling fresh instead of routine.

The Bottom Line
A gift exchange runs smoothly when the group agrees on the format, the budget, and the timeline before anyone starts shopping — everything else tends to sort itself out. The details that feel like extra effort upfront (a clear sign-up, a written rule set, a shared reminder) are exactly what prevents the chaos everyone remembers from exchanges gone wrong.
If you're organizing one this year, SecretYork inside WishYork handles the matching automatically, keeps assignments genuinely secret, and links each person straight to their assigned giftee's wishlist — so nobody's left guessing what to get.
مقالات ذات صلة
هل أنت مستعد للبدء؟
أنشئ قائمة أمنياتك المجانية على WishYork